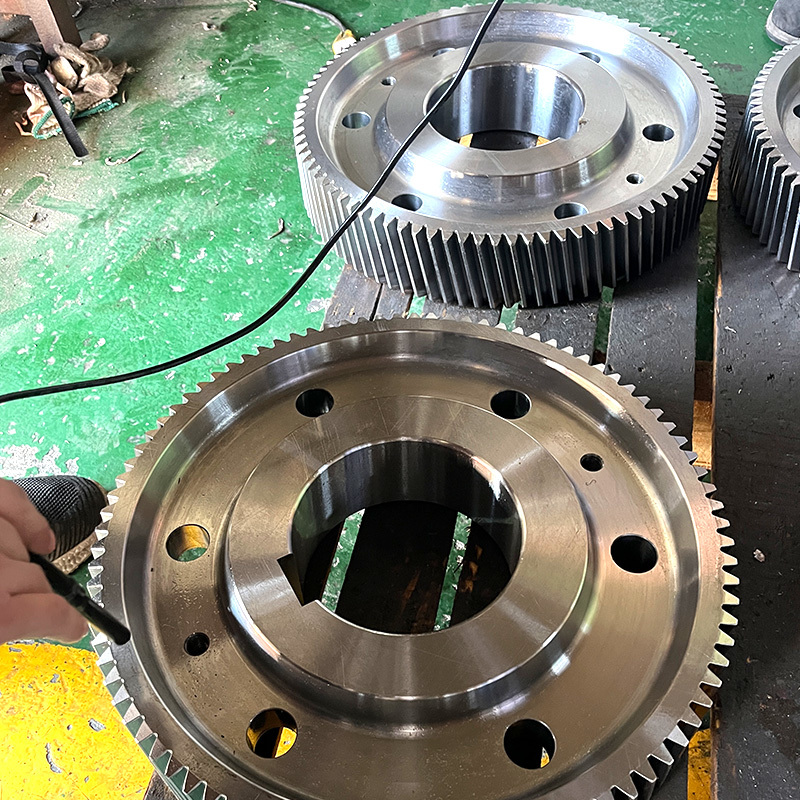
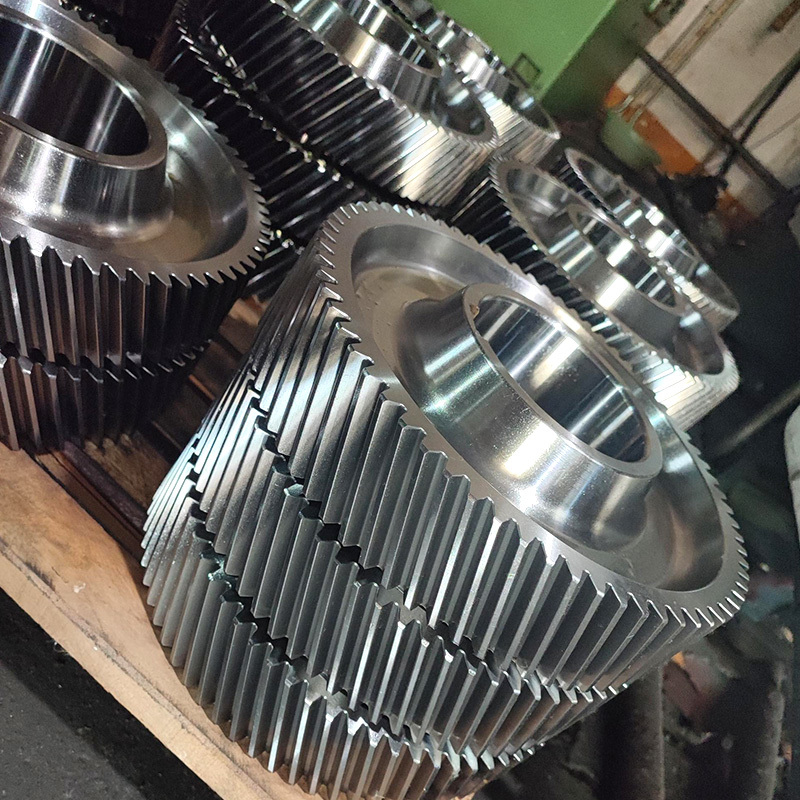
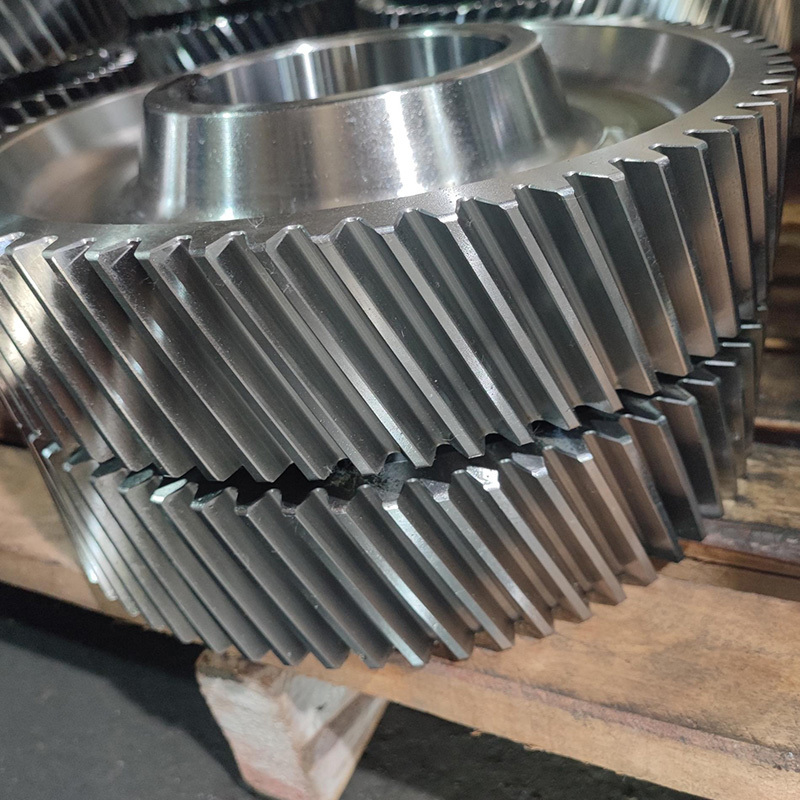
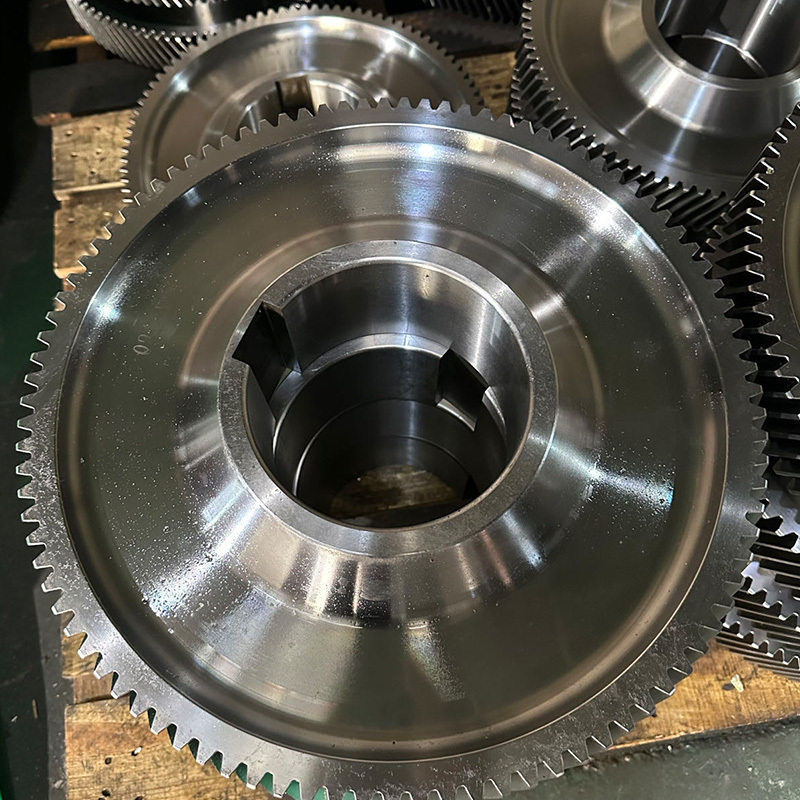
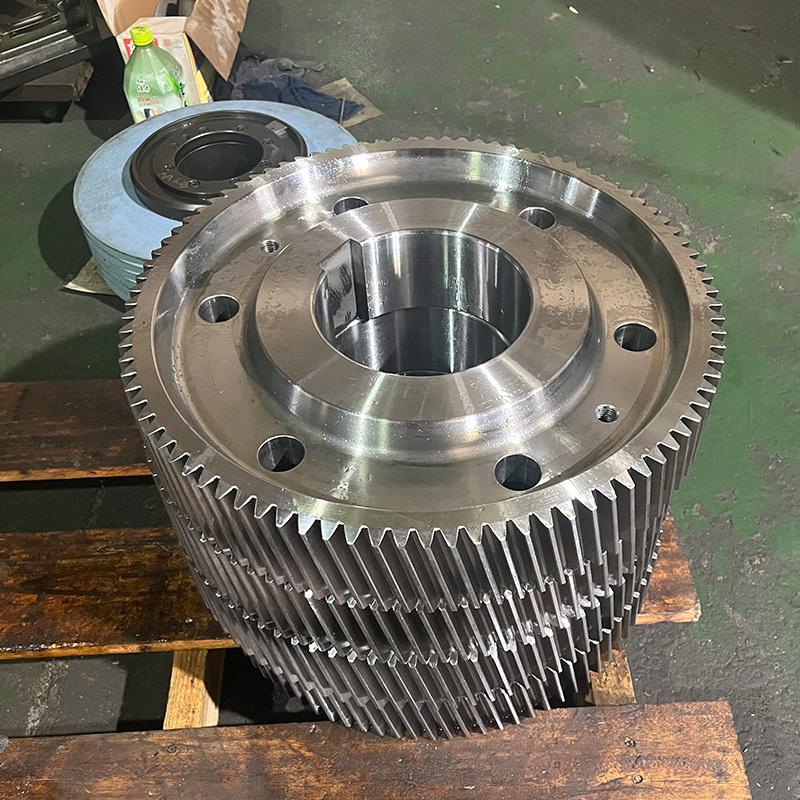
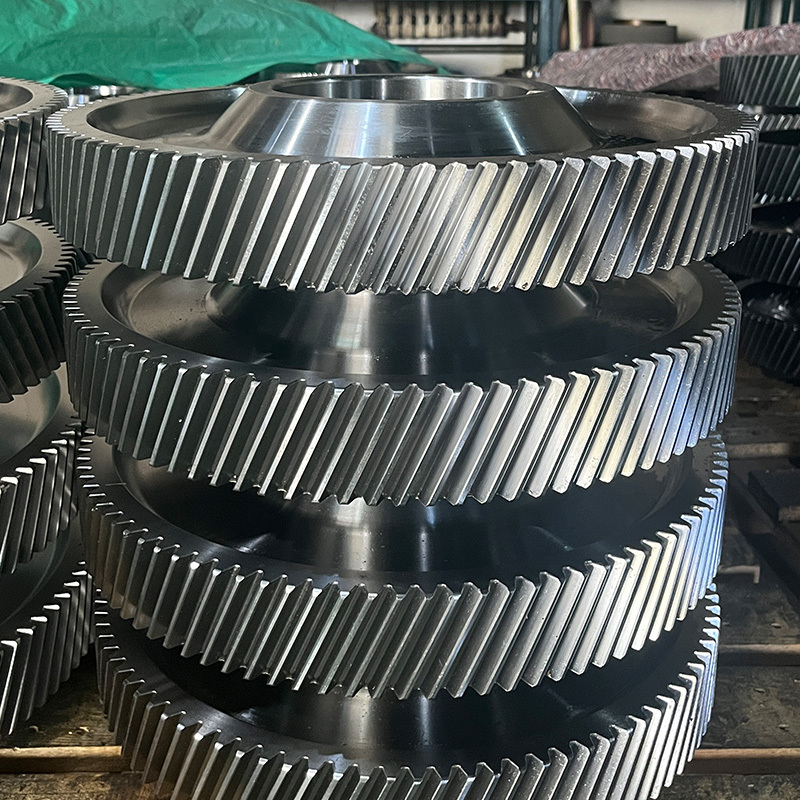
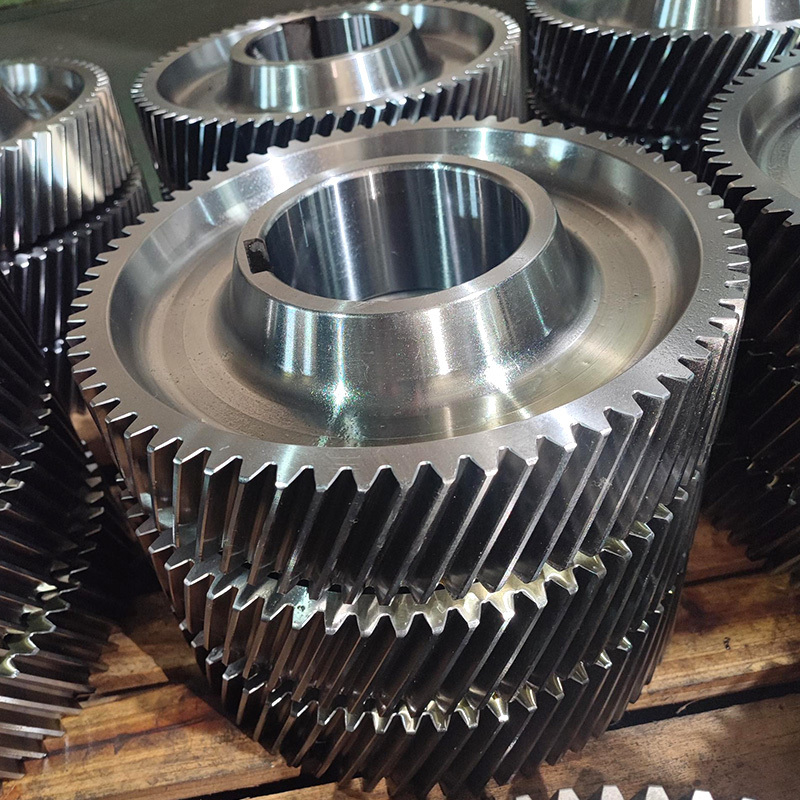
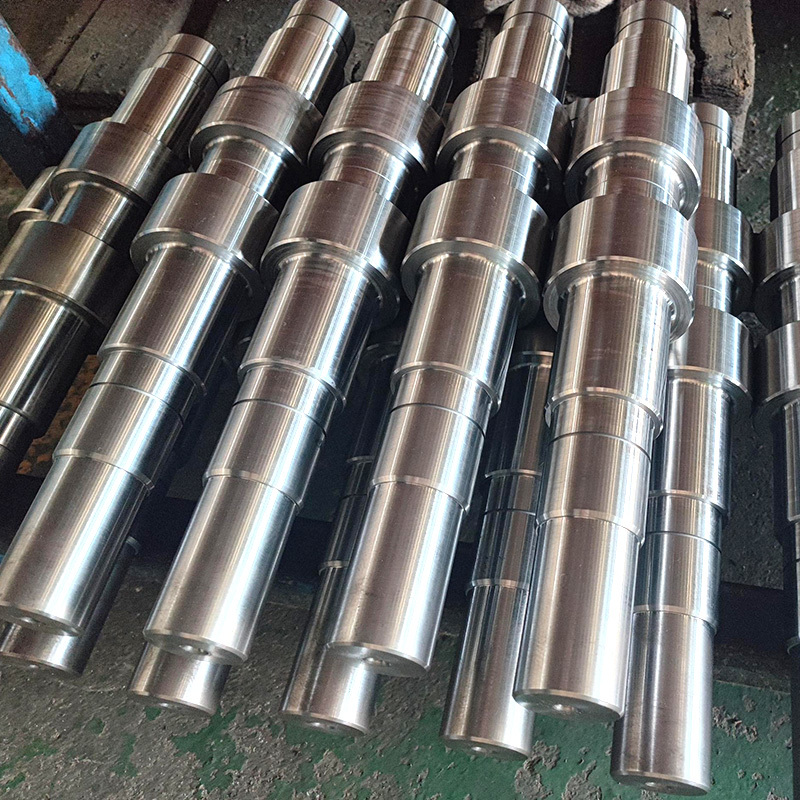
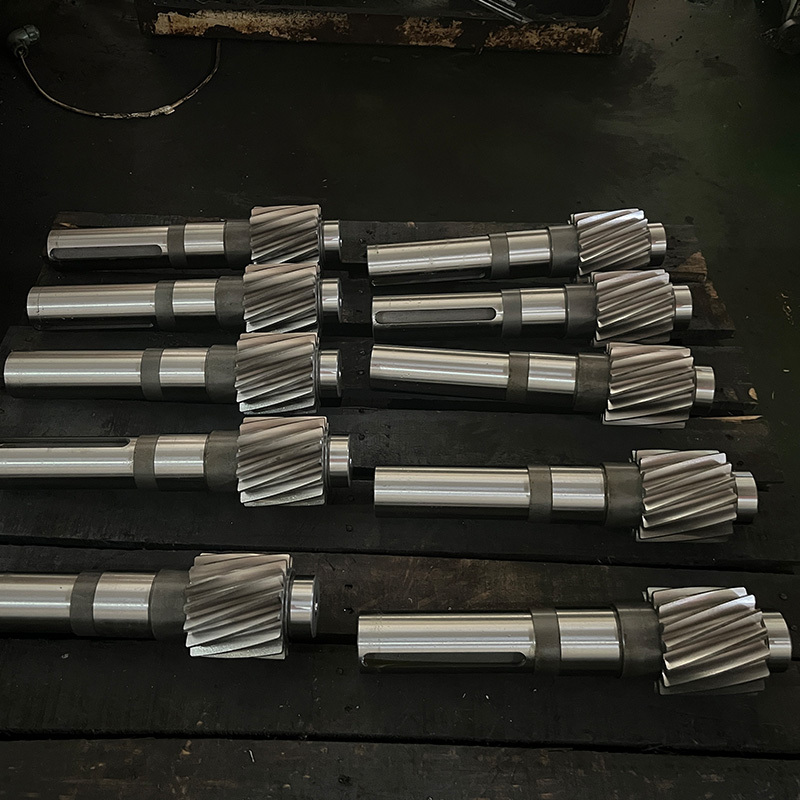
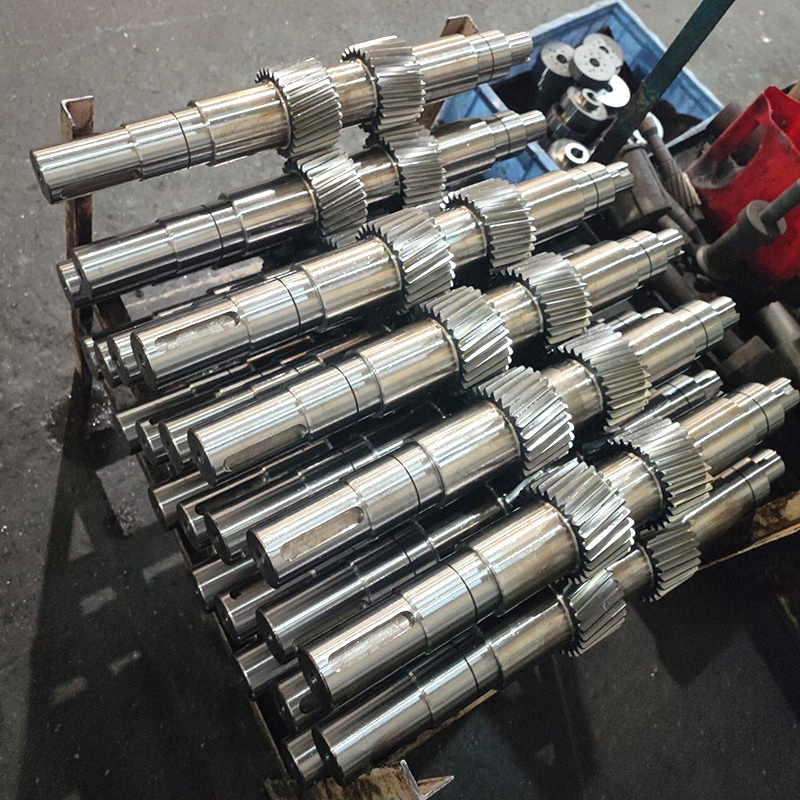
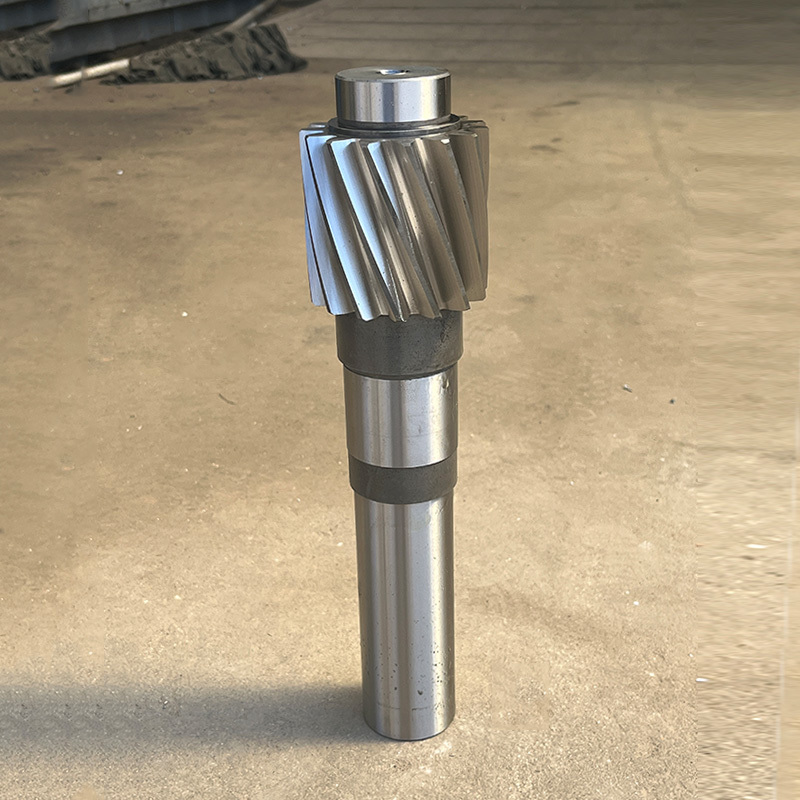
Gear shaft
生产厂家 高精度齿轮 支持定制
Category:
Product Introduction
The selection of the positioning datum The processing sequence of the main surface of the gear shaft depends to a large extent on the selection of the positioning datum. The structural characteristics of the shaft parts themselves and the position accuracy requirements of the main surfaces of the spindle determine that the axis is the most ideal positioning reference. This not only ensures that the datum is unified, but also makes the positioning datum coincide with the design datum. Generally, the outer circle is used as the coarse reference, and the tip holes at both ends of the shaft are used as the fine reference.
Specific choice should also pay attention to the following points.
(1) When the mutual position accuracy requirements between the machined surfaces are high, it is best to complete the machining of each surface in one clamping.
(2) When rough machining or cannot be positioned with top holes at both ends (such as tapered holes for machining spindles), in order to improve the rigidity of the process system during workpiece processing, only the outer circular surface can be used for positioning or the outer circular surface and the center hole at one end can be used as positioning reference. In the processing process, the outer circle of the shaft and the center hole at one end should be used alternately as the positioning reference to meet the mutual position accuracy requirements.
(3) If the shaft is a part with a through hole, the original center hole will disappear after the through hole is drilled. In order to still be able to use the top hole positioning, generally used with a center hole cone plug or cone sleeve mandrel. When the taper of the shaft hole is large (such as the milling machine spindle), the taper sleeve mandrel can be used; when the taper of the spindle is small (such as the CA6140 machine tool spindle), the taper plug can be used. It must be noted that the use of cone sleeve spindles and cone plugs should have a high degree of accuracy and minimize the number of installations. The center hole on the cone plug and the cone sleeve mandrel is not only the positioning reference for its own manufacture, but also the finishing reference for the outer circle of the spindle. Therefore, it is necessary to ensure that the cone plug or the cone on the cone sleeve mandrel has a high coaxiality with the center hole. For small and medium-sized production, the workpiece is generally not replaced halfway after installation on the cone plug. If the outer circle and the cone hole need to be processed repeatedly as a reference to each other, the center hole must be aligned or reground according to the outer circle when reinstalling the cone plug or the shaft sleeve mandrel.
From the above analysis, the selection of positioning datum in the gear shaft processing process should consider the following arrangement: from the beginning, drill the center hole of the end face with the outer circle as the rough datum to prepare the positioning datum for the rough turning; The outer circle of the rough turning is the positioning datum for subsequent processing: after that, in order to prepare the positioning datum for semi-finishing and finishing the outer circle, the front and rear center holes are processed first as the positioning datum; gear tooth profile processing also uses the top hole as the positioning reference, which is a very good embodiment of the principle of unified reference, but also fully embodies the principle of datum coincidence.
Application areas

Chemical and metallurgical fields

Mining machinery field

Clean energy field

Automotive industry field
Related Products
Key words:


